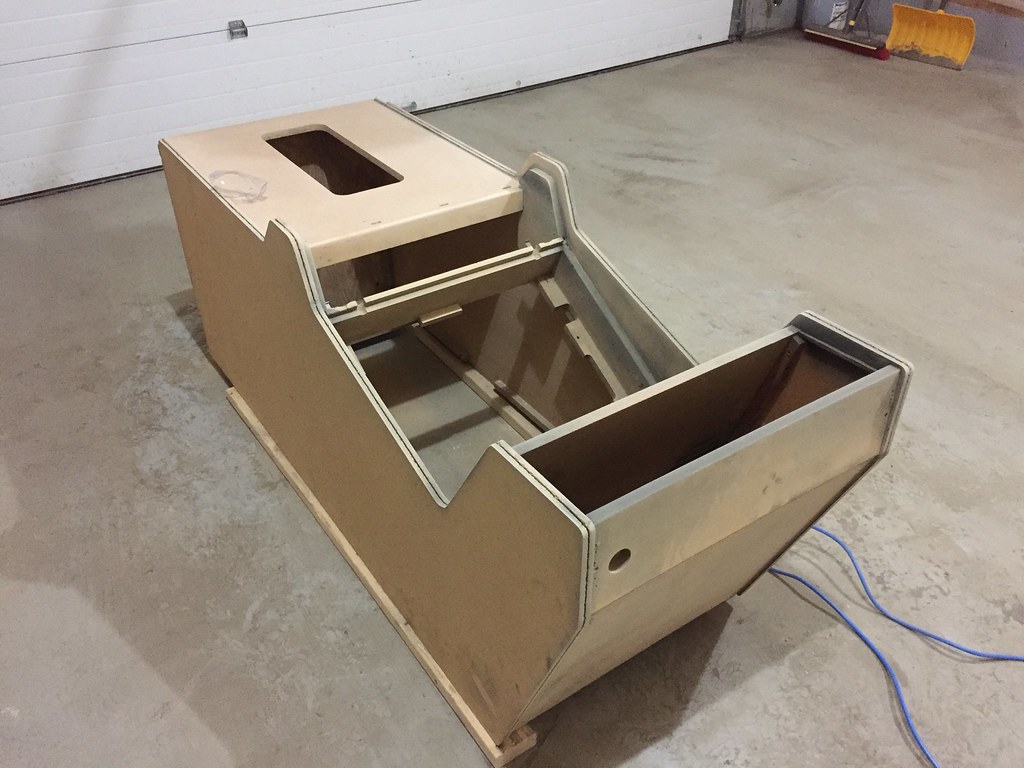
Making some progress on the teardown.
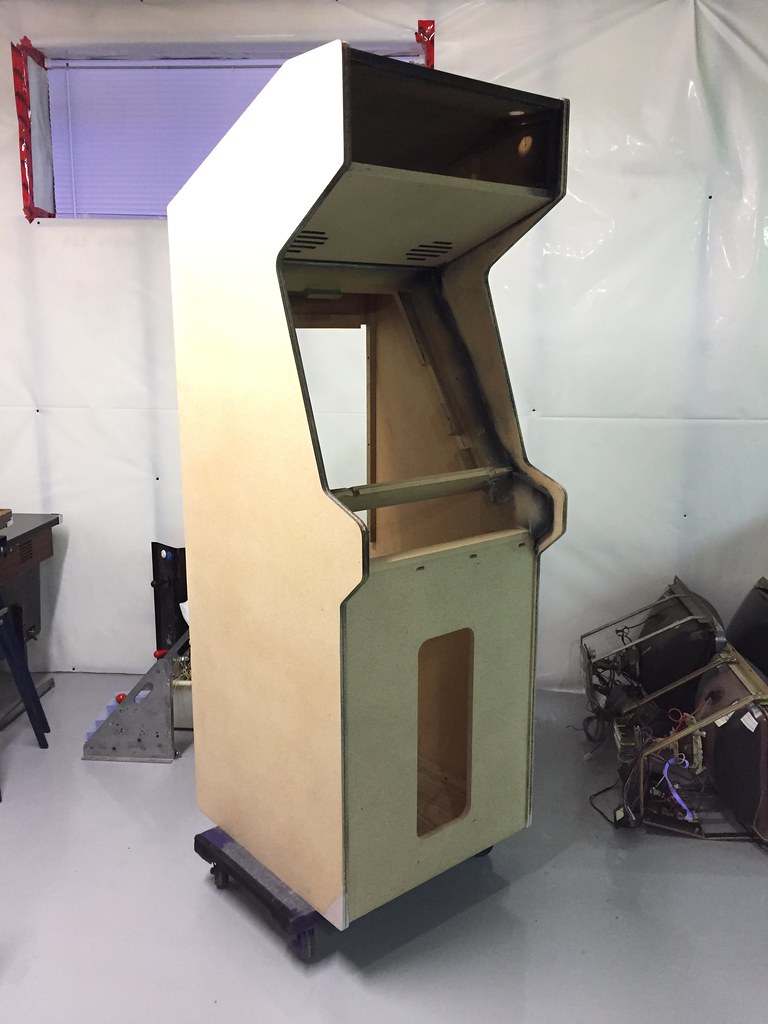
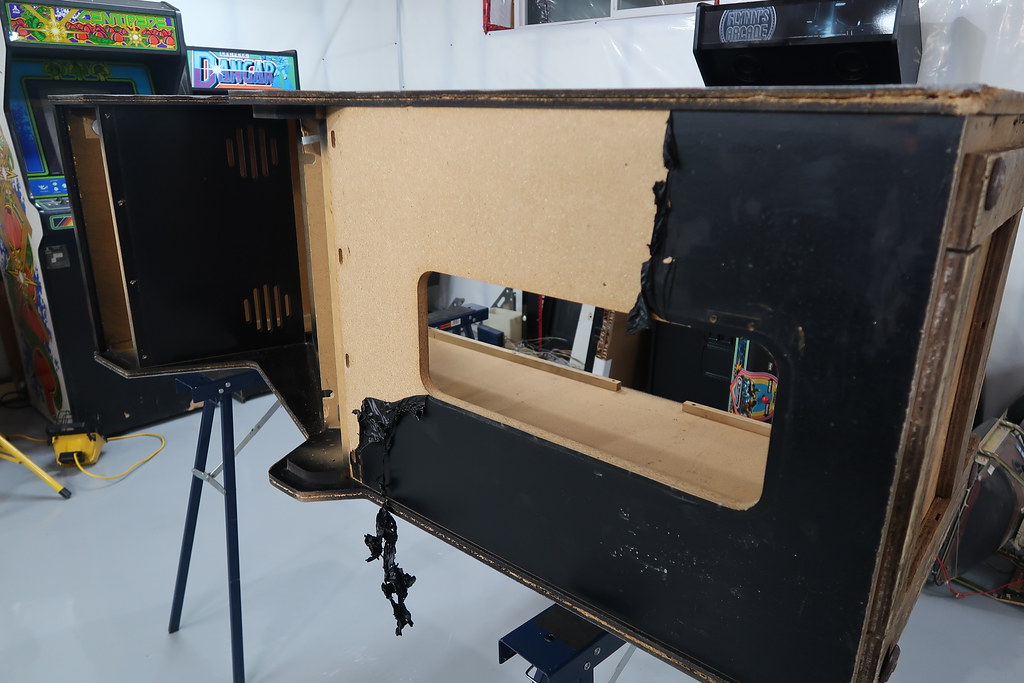
JoshODBrown and I stripped down the cab to the shell. Then the next day i went at the front and sides with a heat gun to remove the vinyl covering. This thing is in amazing condition now that i have all that black plastic painted with grey paint off. The plan is to repaint, not recover. I want to get a little crafty with the paint finishes and find a nice satin and semi-gloss to roll on with foam rollers. Back in September i worked on a cocktail project for a my old boss and had good results with the same finish.
The one corner isn't too bad, structurally it wont need much to be repaired. That will be the next step, and will be included in the next episode of the restoration on TCA.
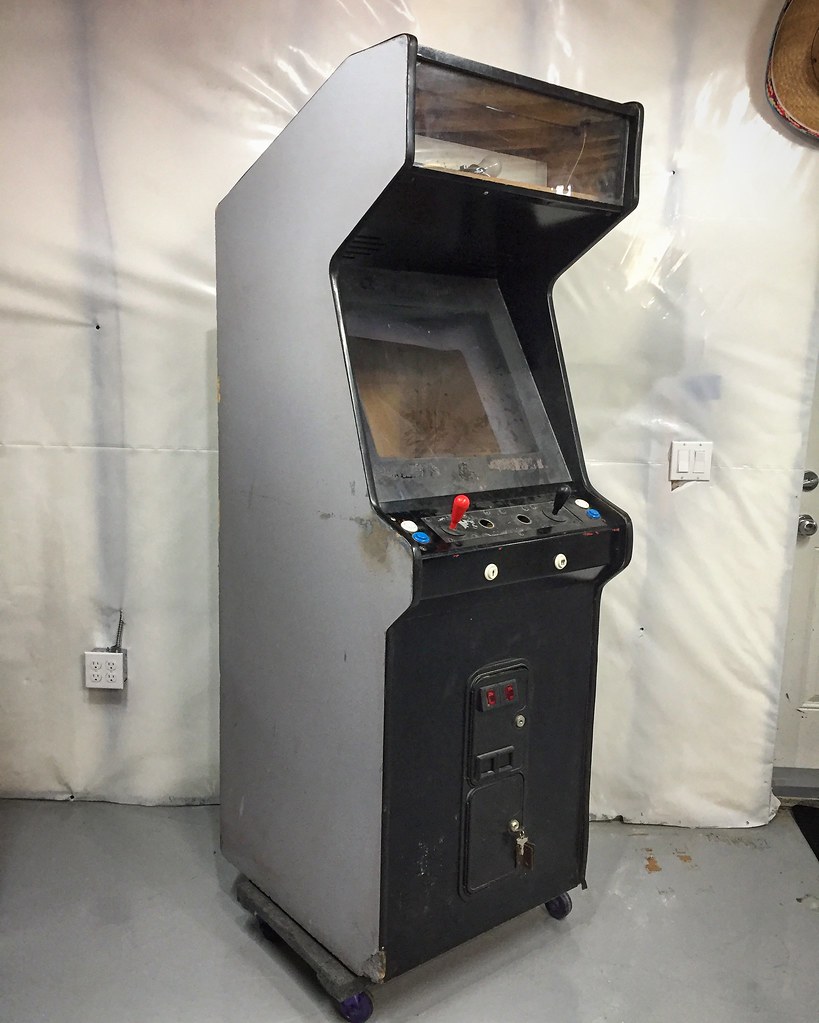
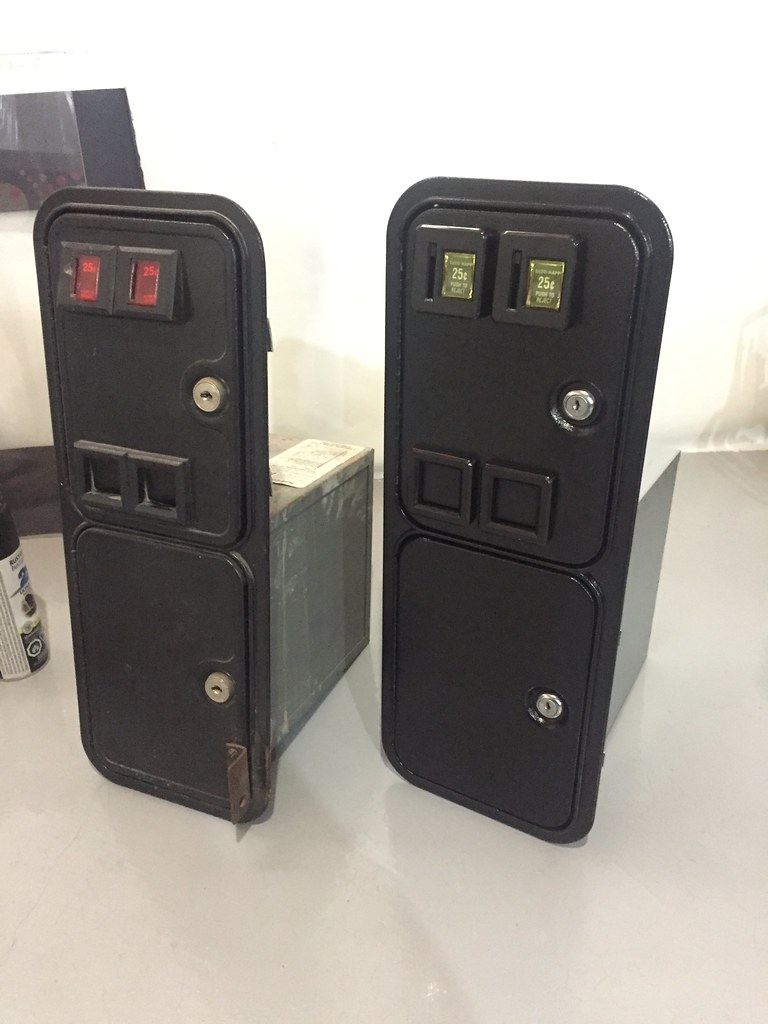
I picked up a new coin door, Its from HAPP, not the same Coin Controls one that was on originally, but it's really similar and this will save me a ton of work and time restoring the old one. I plan to switch out the credit buttons for red ones.
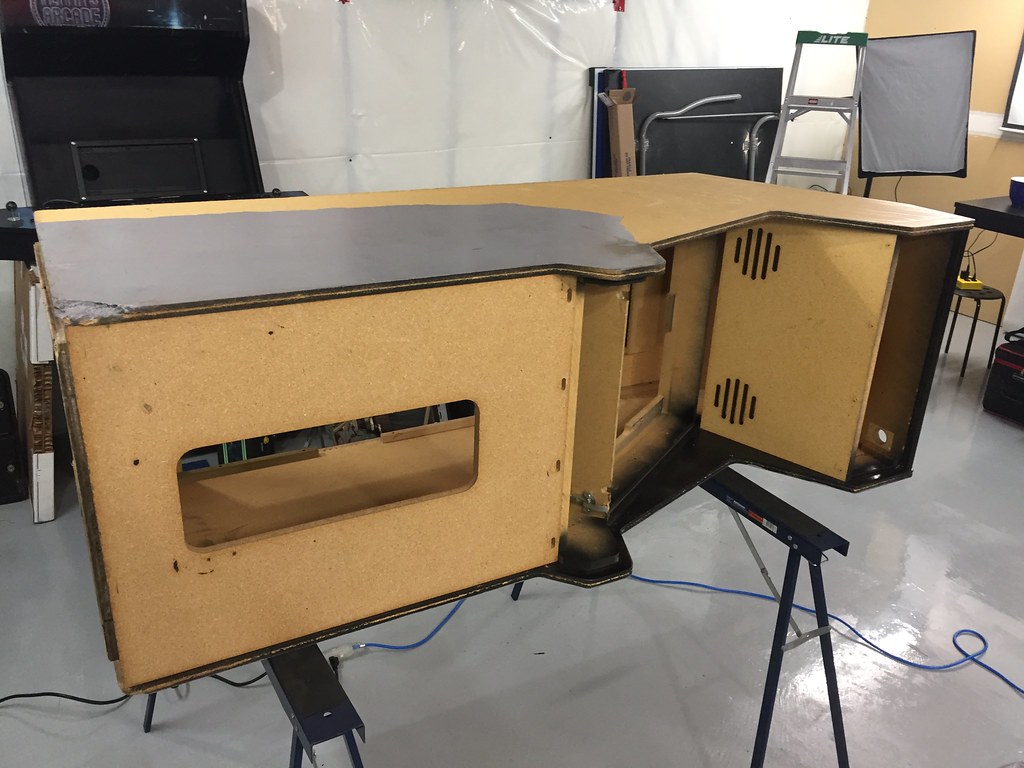
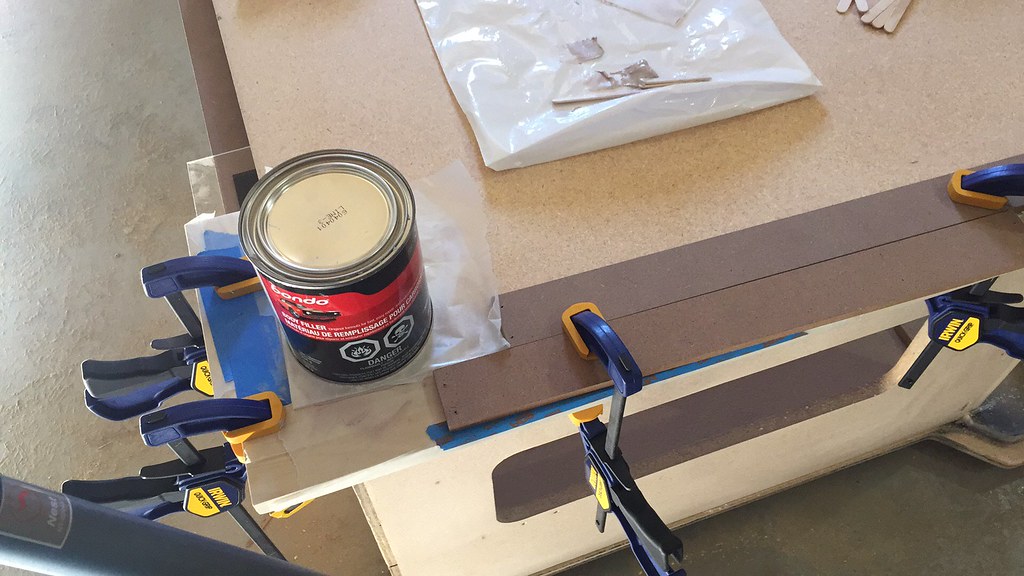
I've moved the cabinet into the garage and now that the weather isn't bad i've started sanding down all the surfaces with 40, 100, and 220 grit. Next i'll need to do some bondo work and fix up the corners.
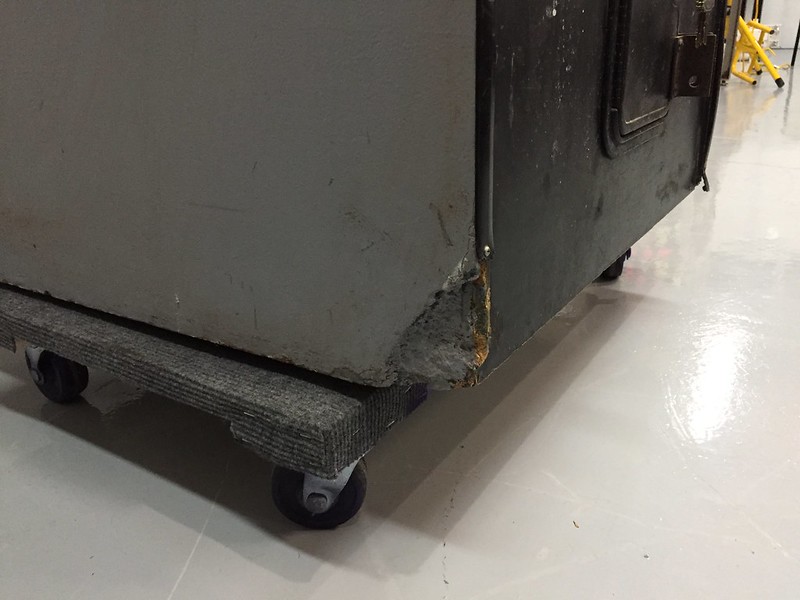
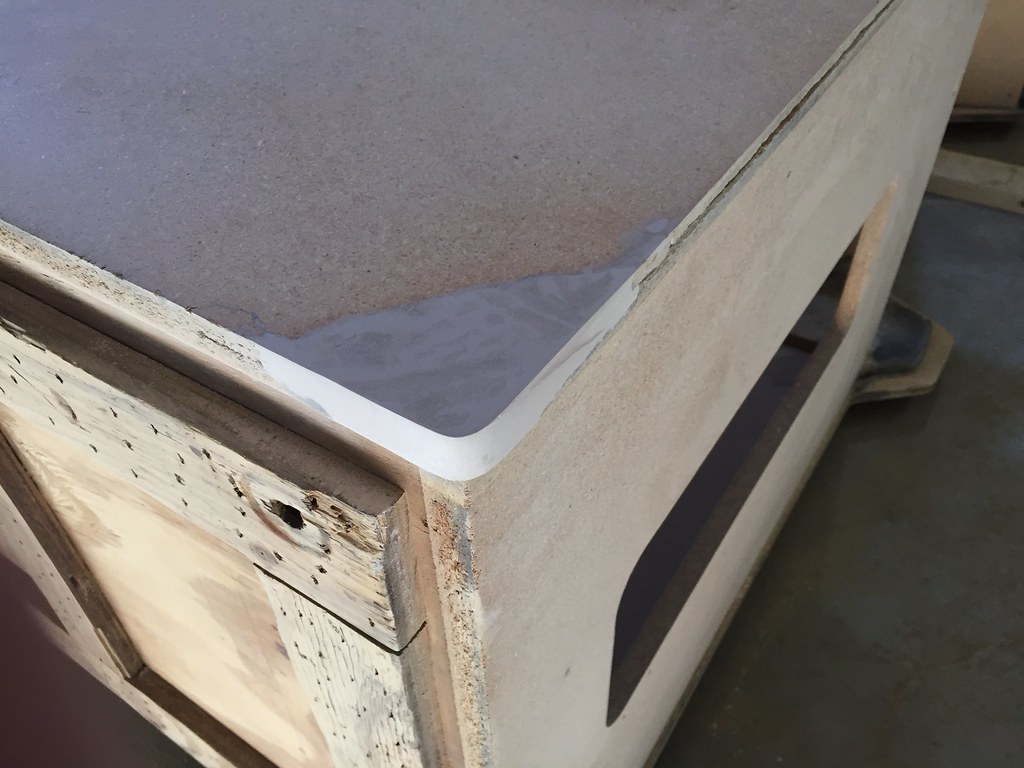
As you can see from above, this is what the front left corner looked like:
Now that all the sanding is done, it's time to repair the front corners with some bondo. When i do this, i like to build a form around the area. I do this by wrapping pieces of hardwood and plexi with wax paper and clamping them into position around the area. Sometimes I try using a spare chunk of t-moulding as well. because i'm doing a flat corner, i like to use just a little more bondo then i need and then flatten it down with some plexi (also wrapped in wax paper), and weigh it down to flatten it.
What your left with is a bit of a rough canvas you can shape into something resembling a proper corner.
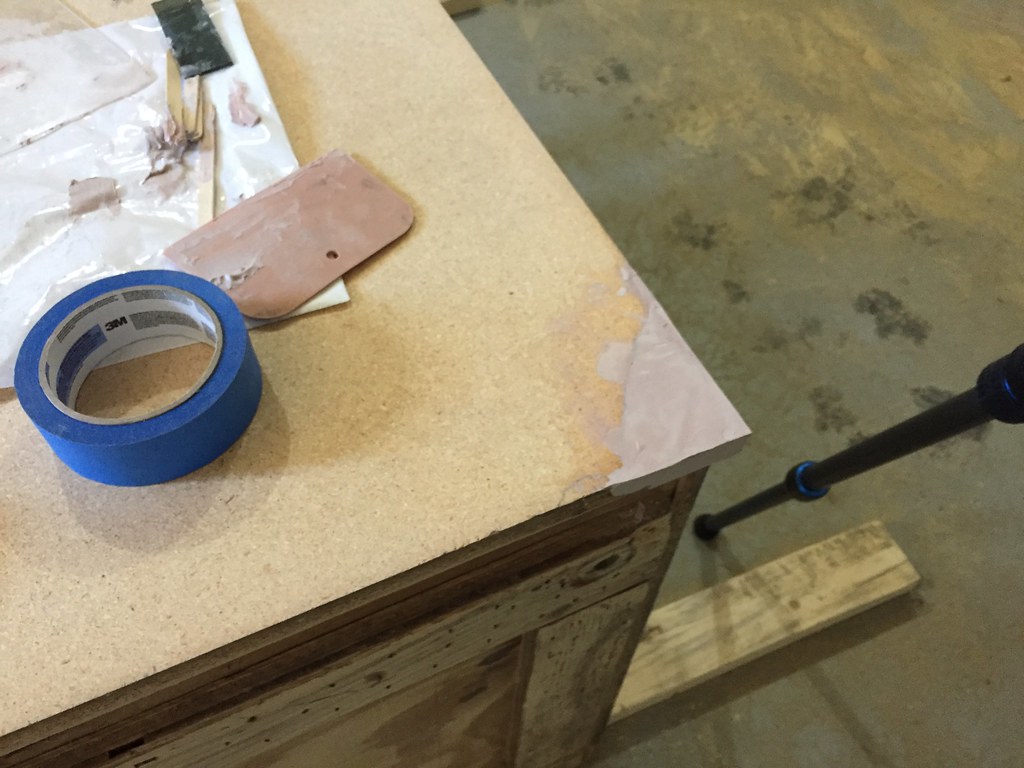
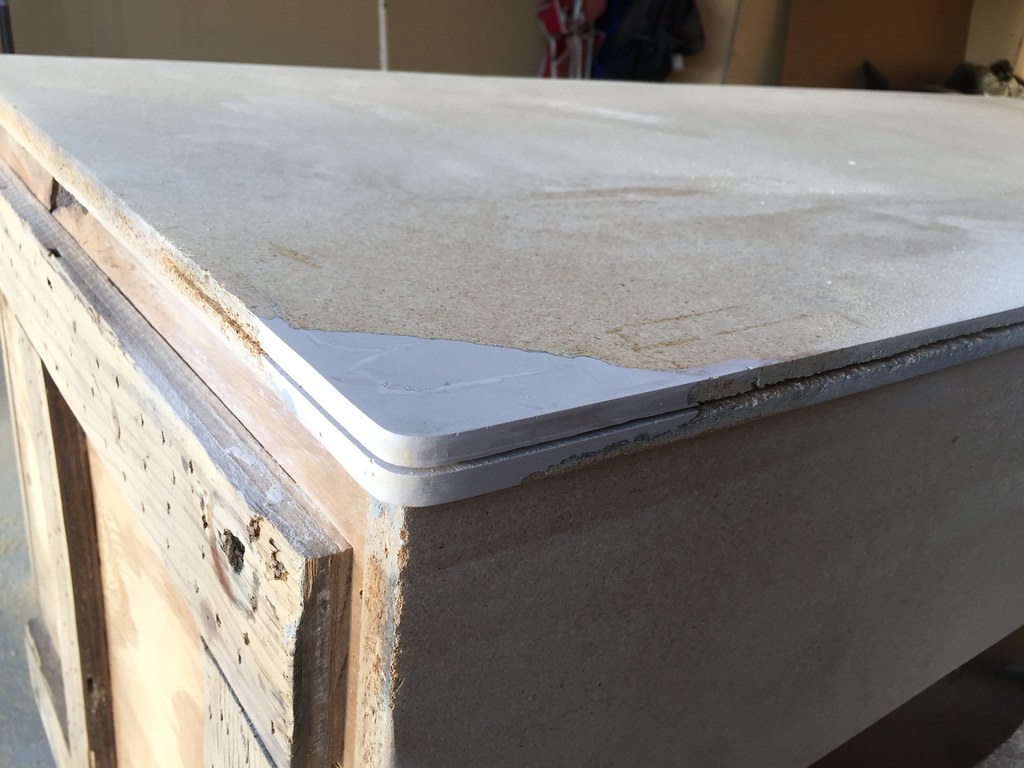
I don't show it here in this picture, but i take a circle template from my drafting kit, and a pencil and draw the radius onto the hardened bondo. This gives me a guide to ensure that the corner comes out round after i take to it with the sander.
For the final step, i run the slot cutting bit over it with the router to make a new grove for the t-molding.
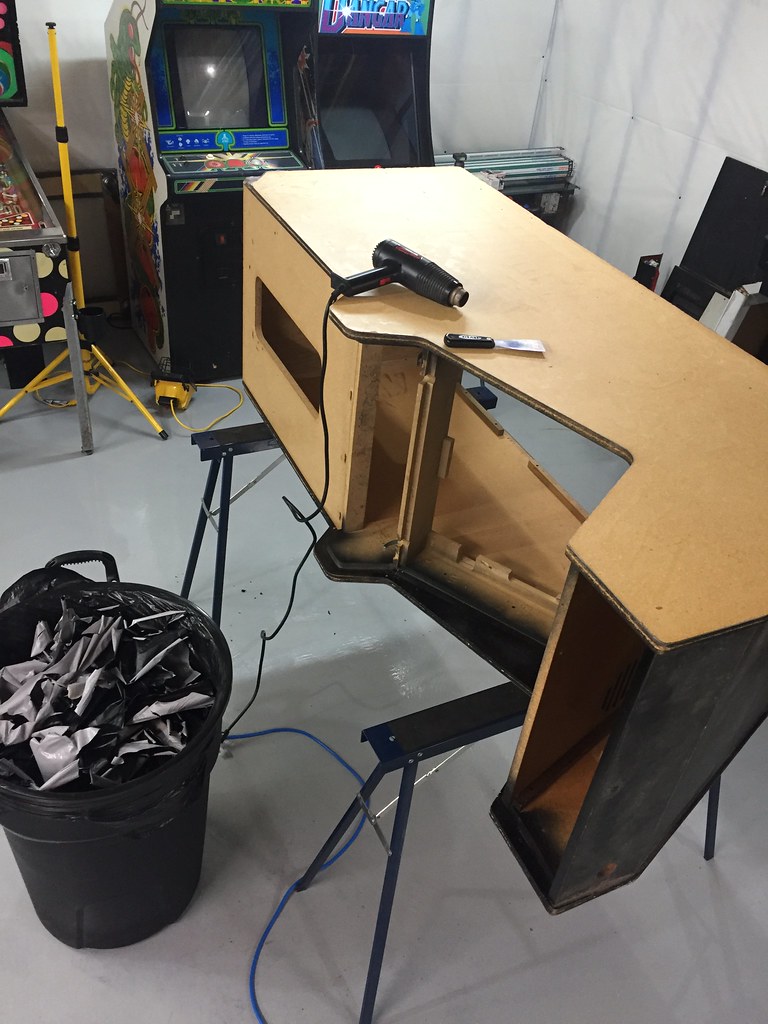
I'll be going over this with more detail in the video once its ready. For now, i patched up both front corners, and a couple holes by the coin door where a lockdown bar had been installed. Once it was cleaned off, i moved the cabinet back into the basement for paint.